
This tutorial guides you through managing products within the Nightingale Admin platform.
Go to backoffice.vsdigitalhealth.com
1. Introduction
You'll learn how to navigate business locations, update product images, and organize categories effectively.

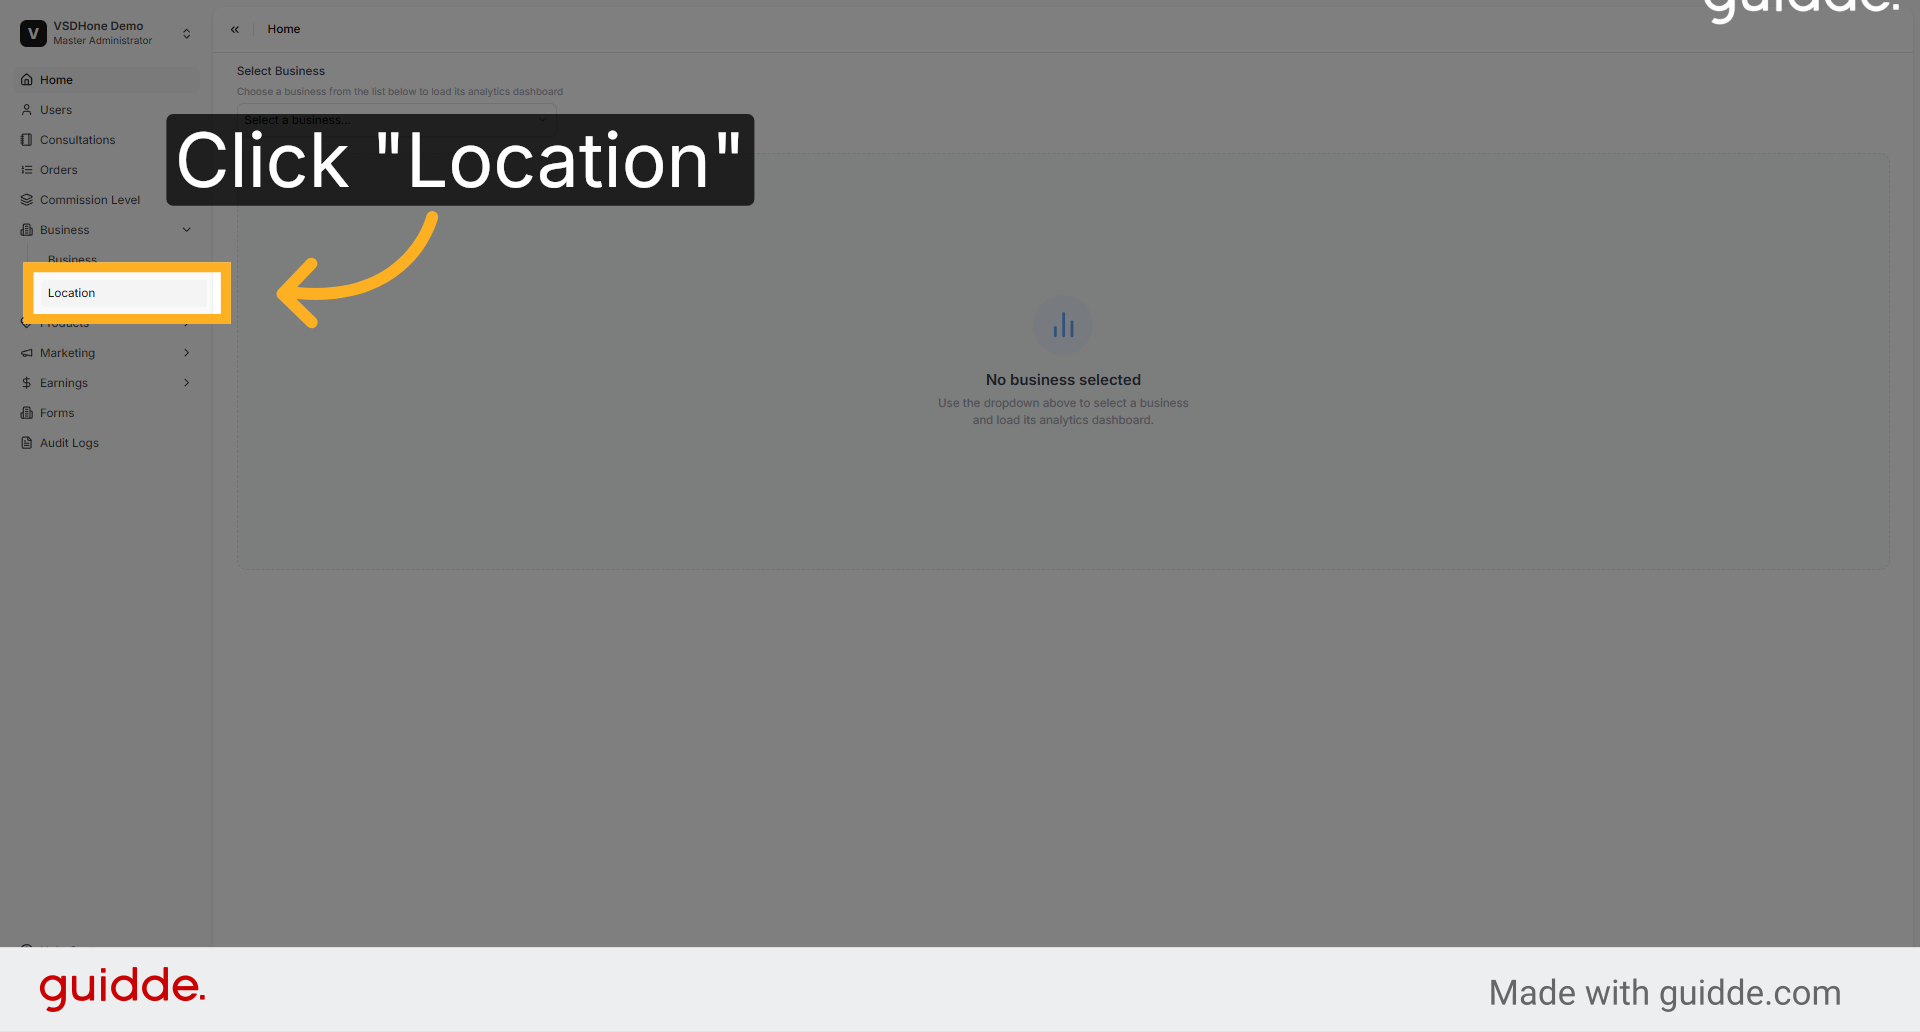
2. Open Location Settings
Click Location to view and manage different business locations within the platform.
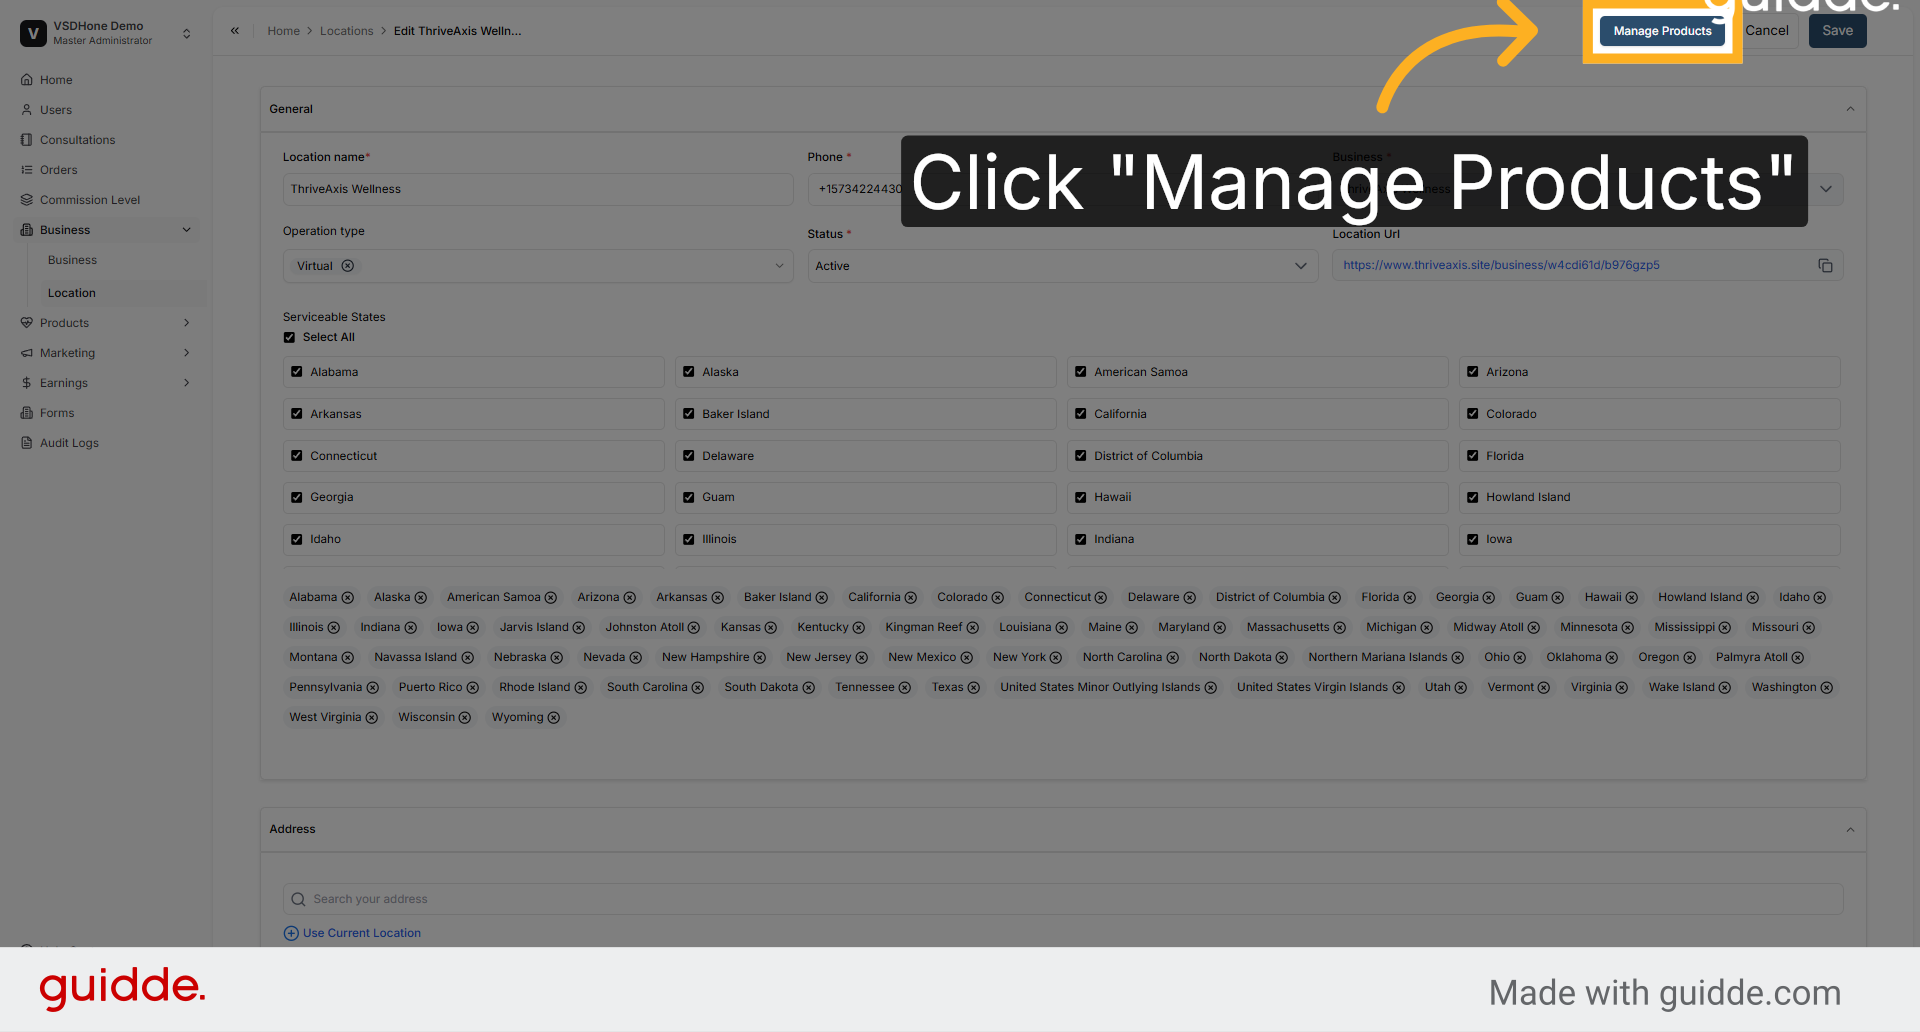
3. Access Product Management
Click Manage Products to view and edit the product listings associated with the selected location.
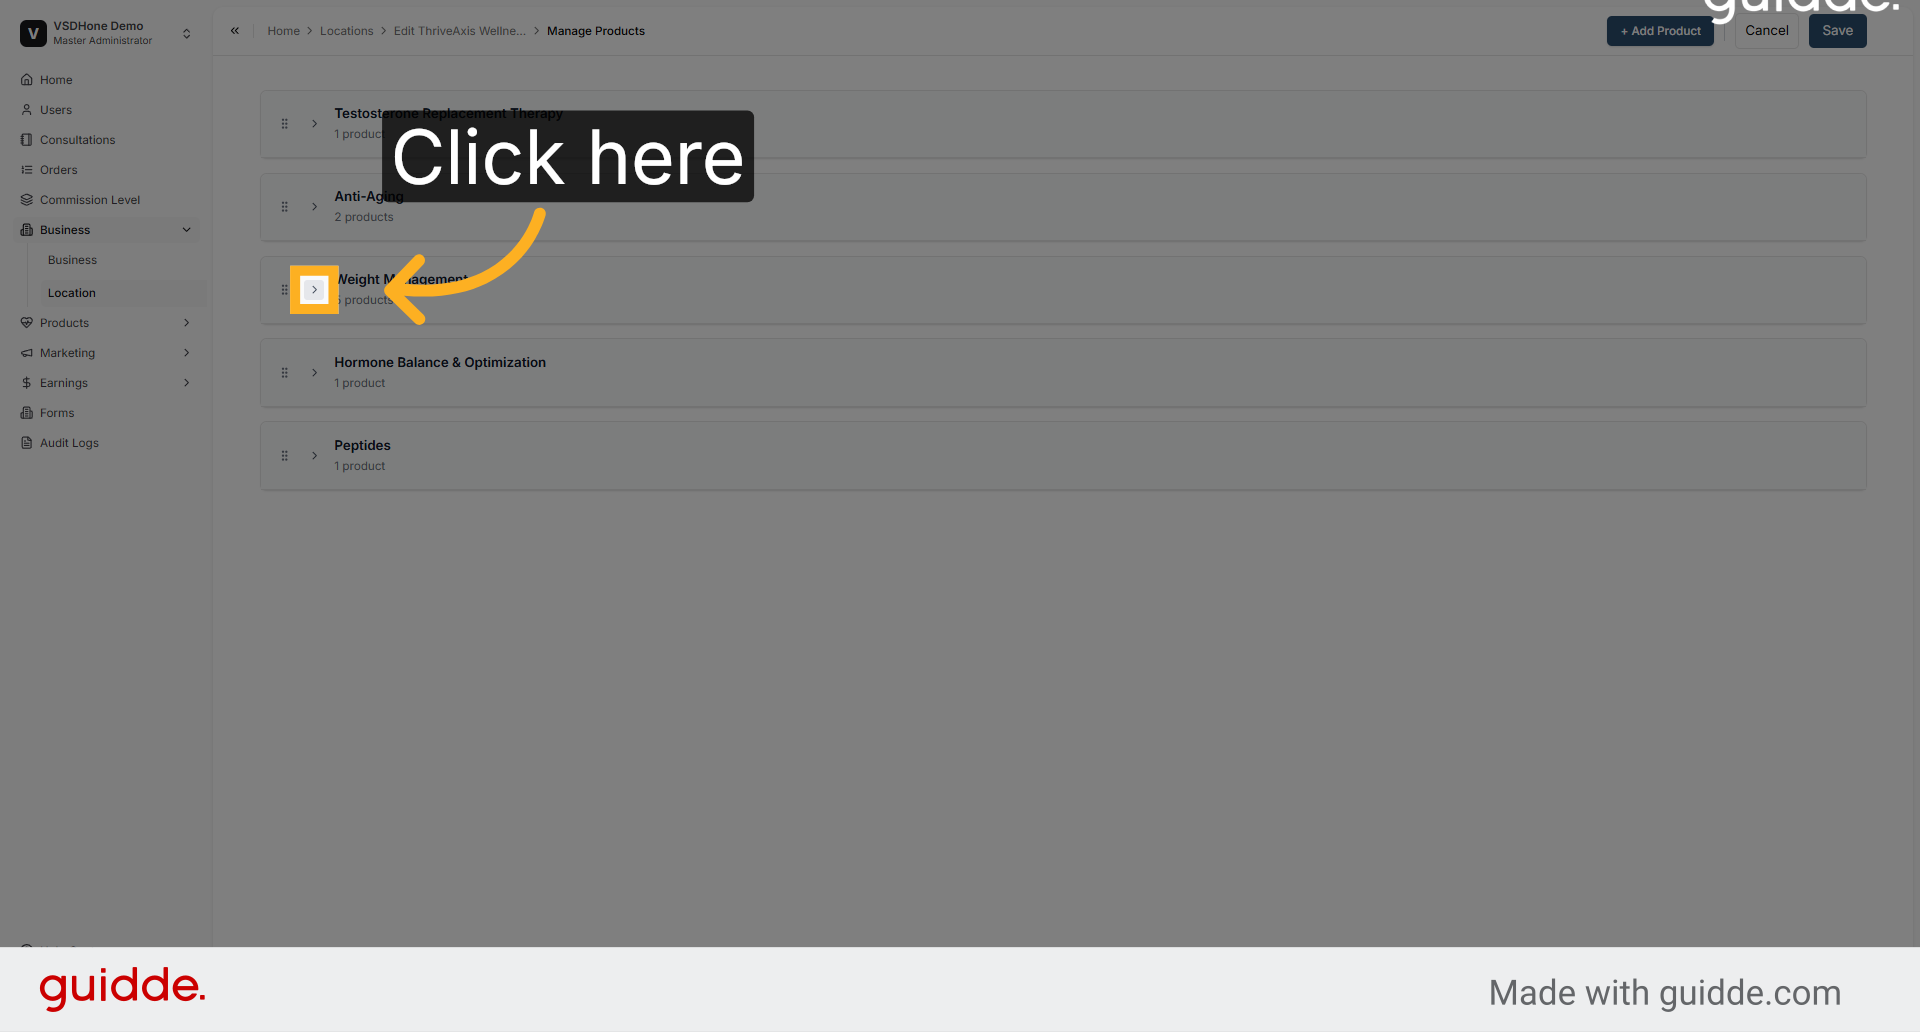
4. Proceed to Next Product Step
Click here to continue with the product setup process and enter product details.
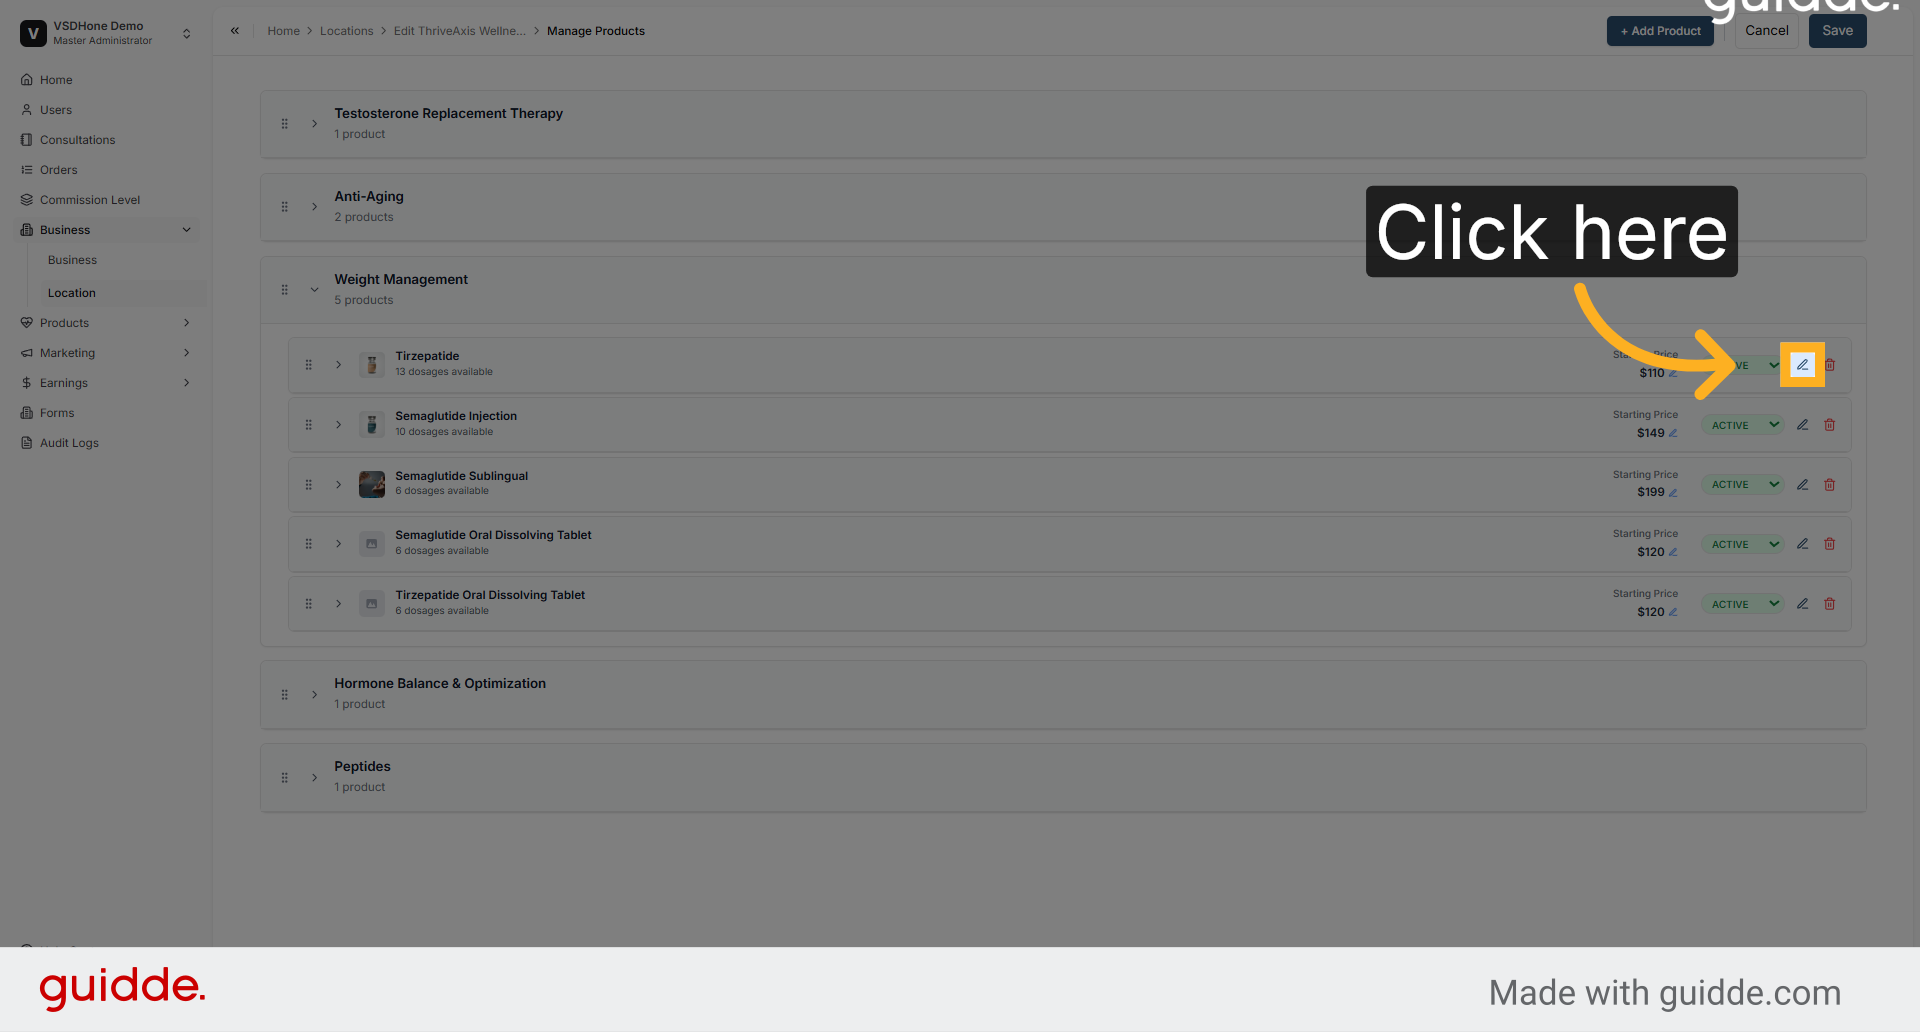
5. Advance Product Configuration
Click here to move forward in configuring the new product's attributes and settings.
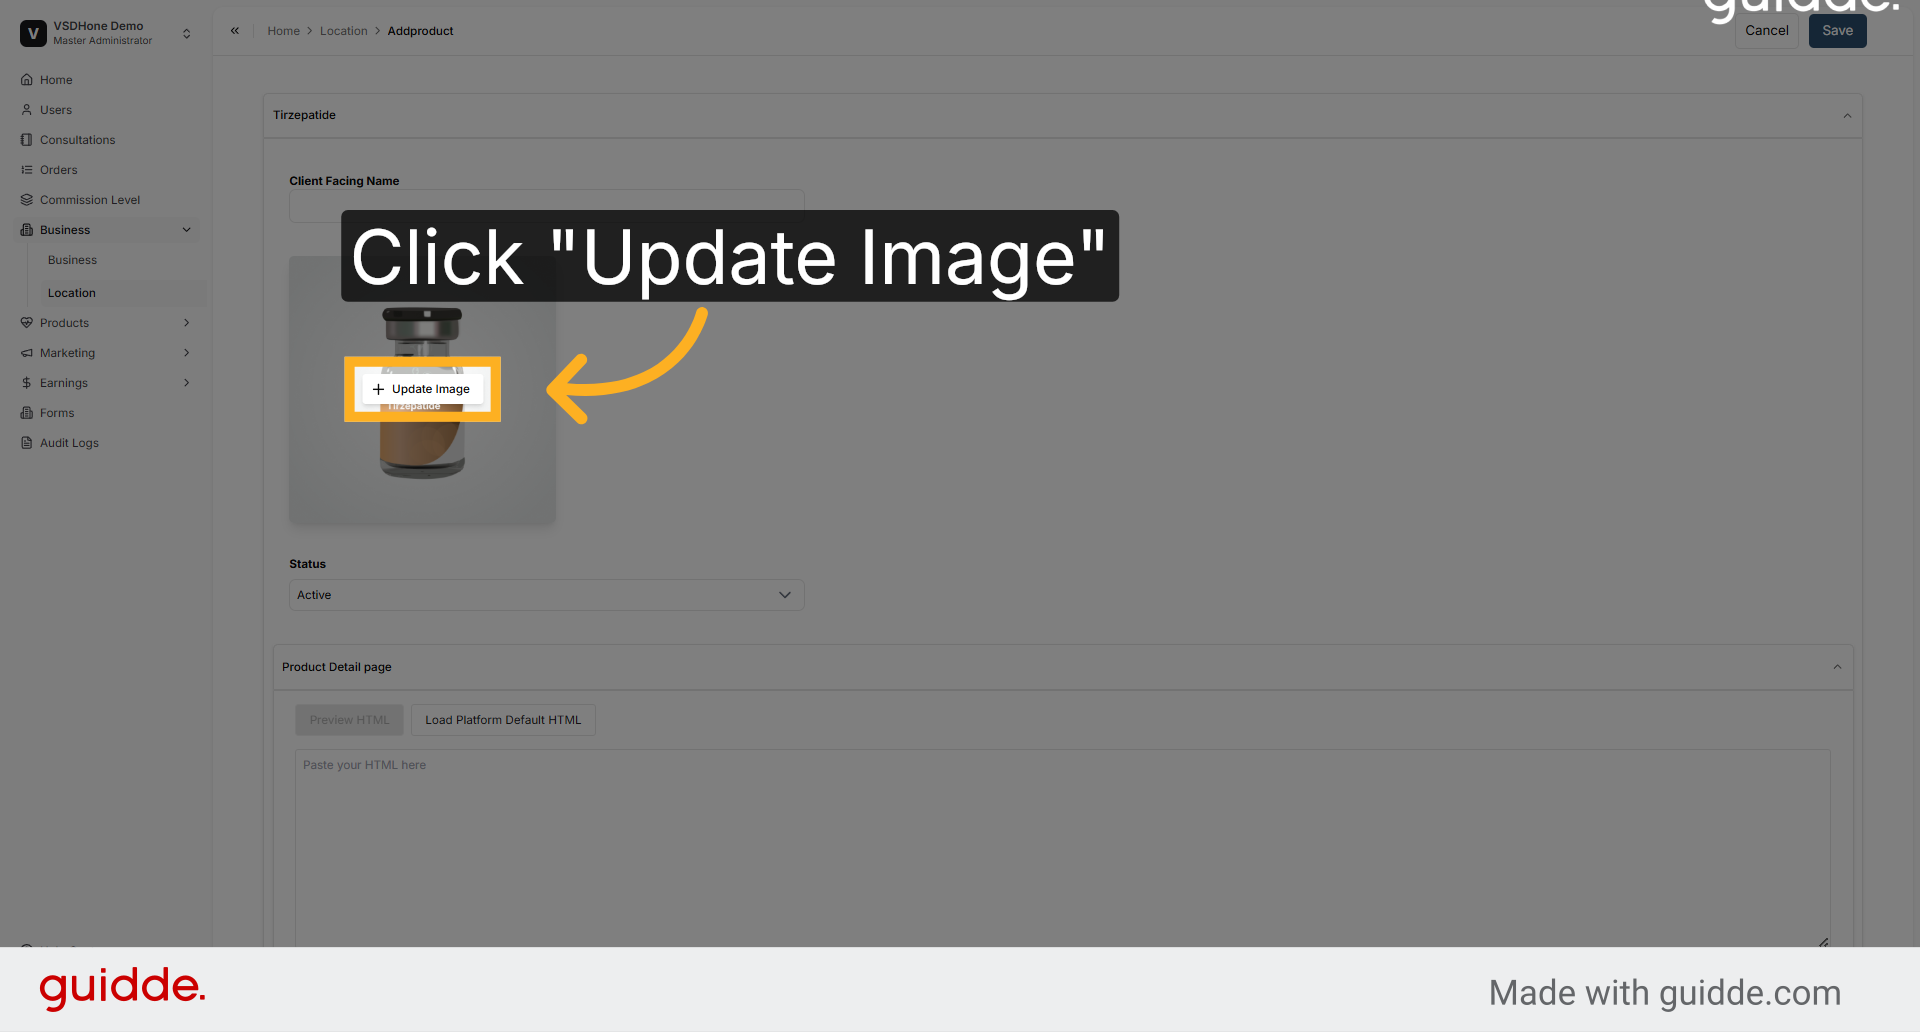
6. Update Product Image
Click Update Image to upload a new picture representing the product for better identification.
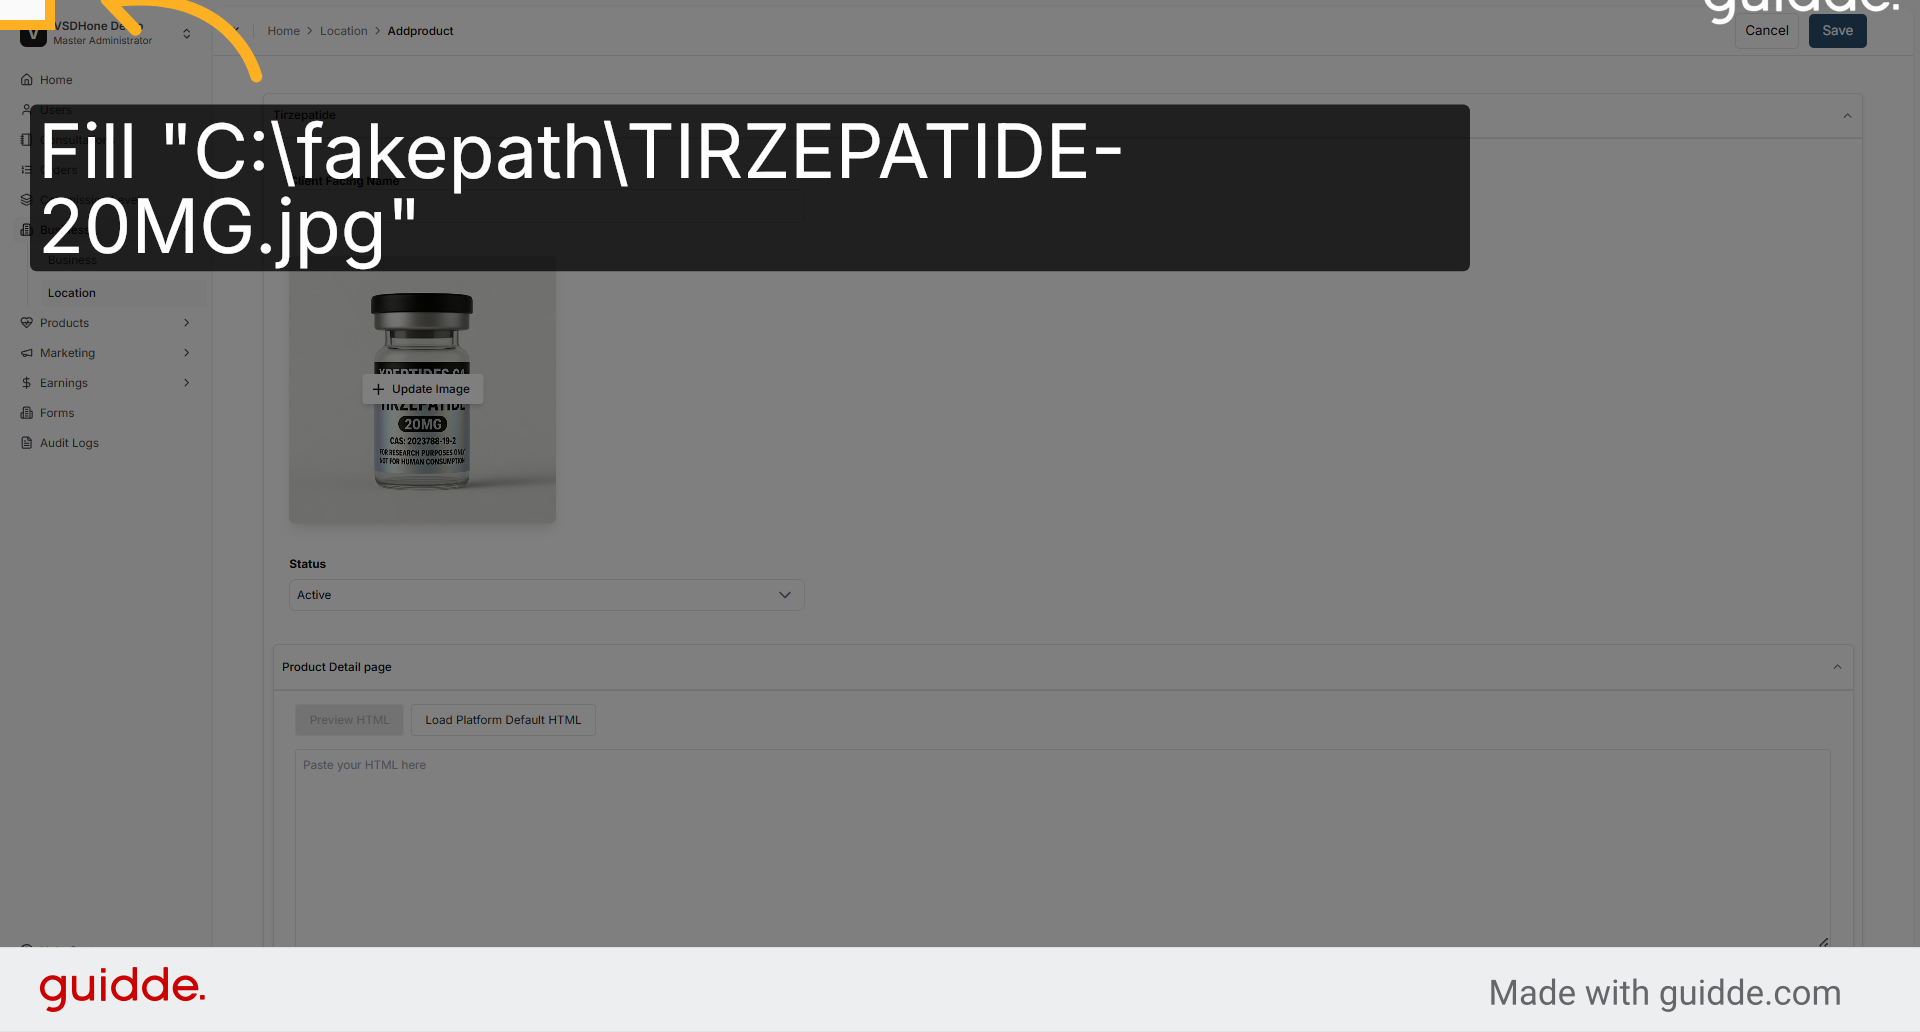
7. Upload Product Image File
Enter the file path to upload the product image, ensuring it meets platform requirements.
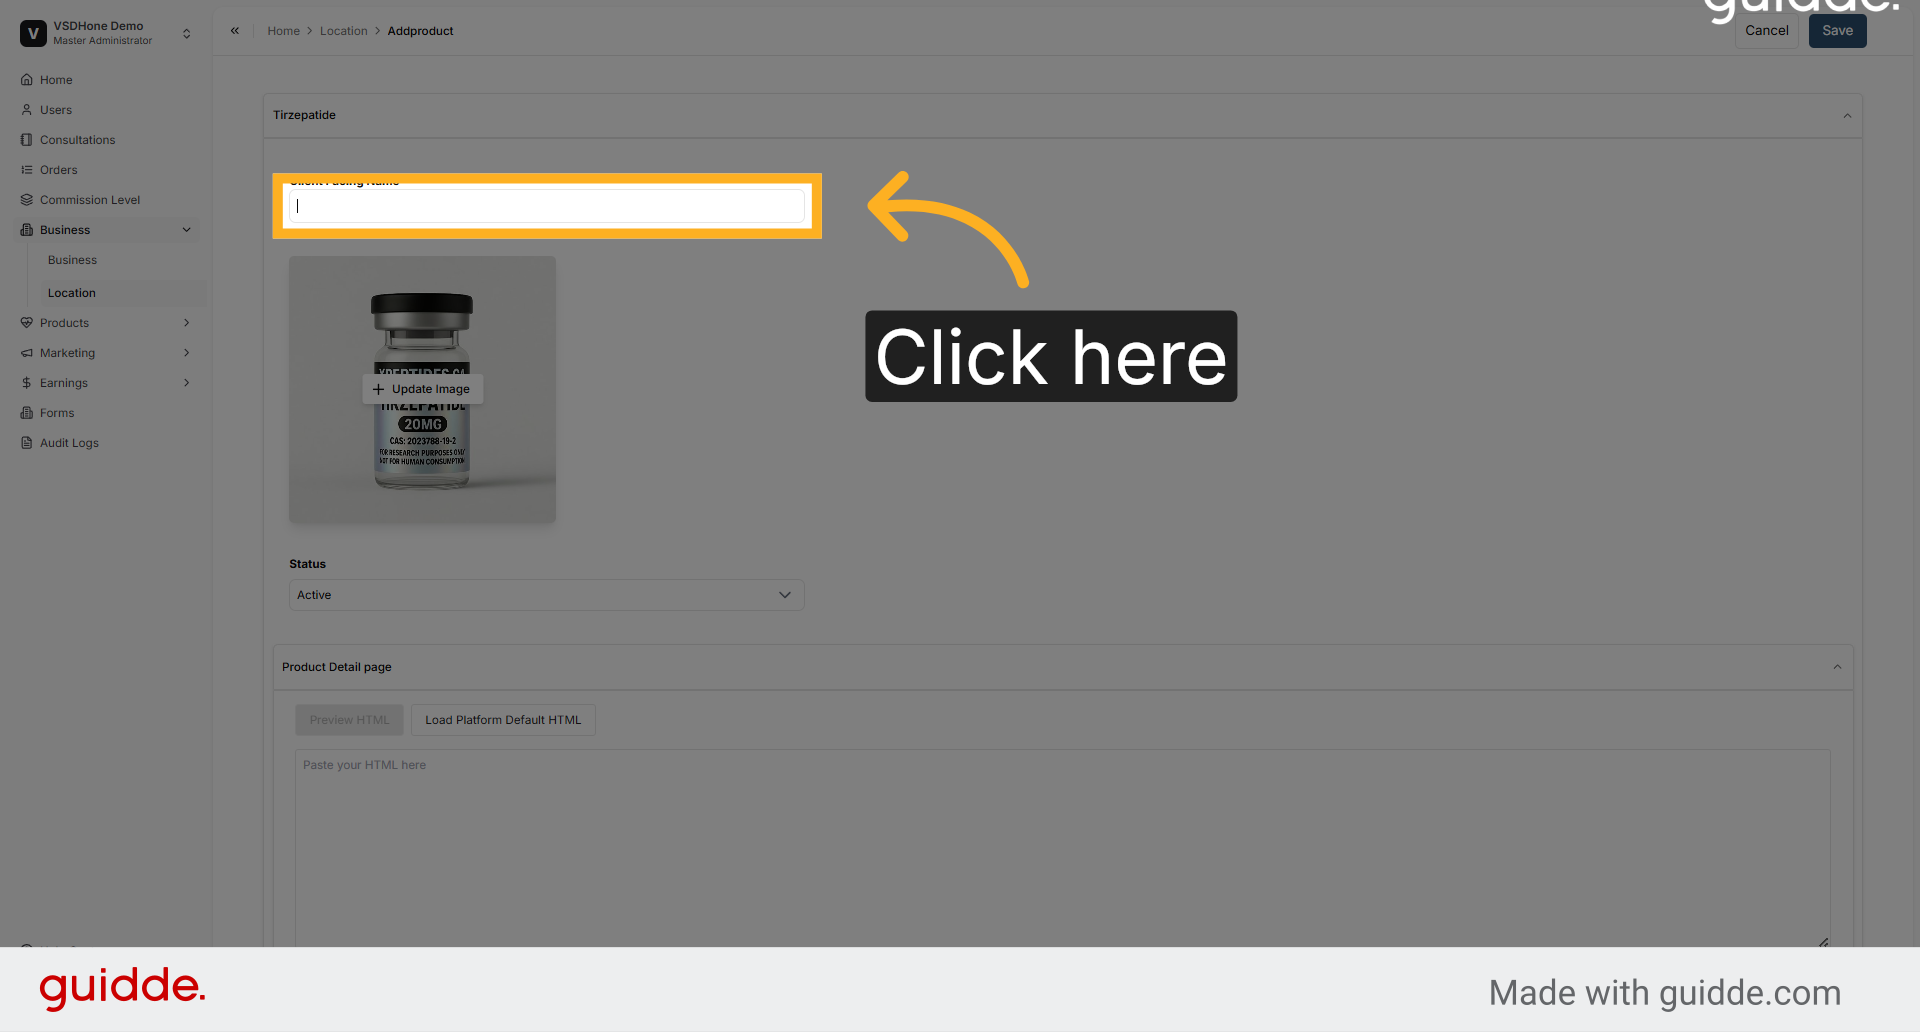
8. Confirm Image Upload
Click here to confirm the image upload and proceed with the product setup.
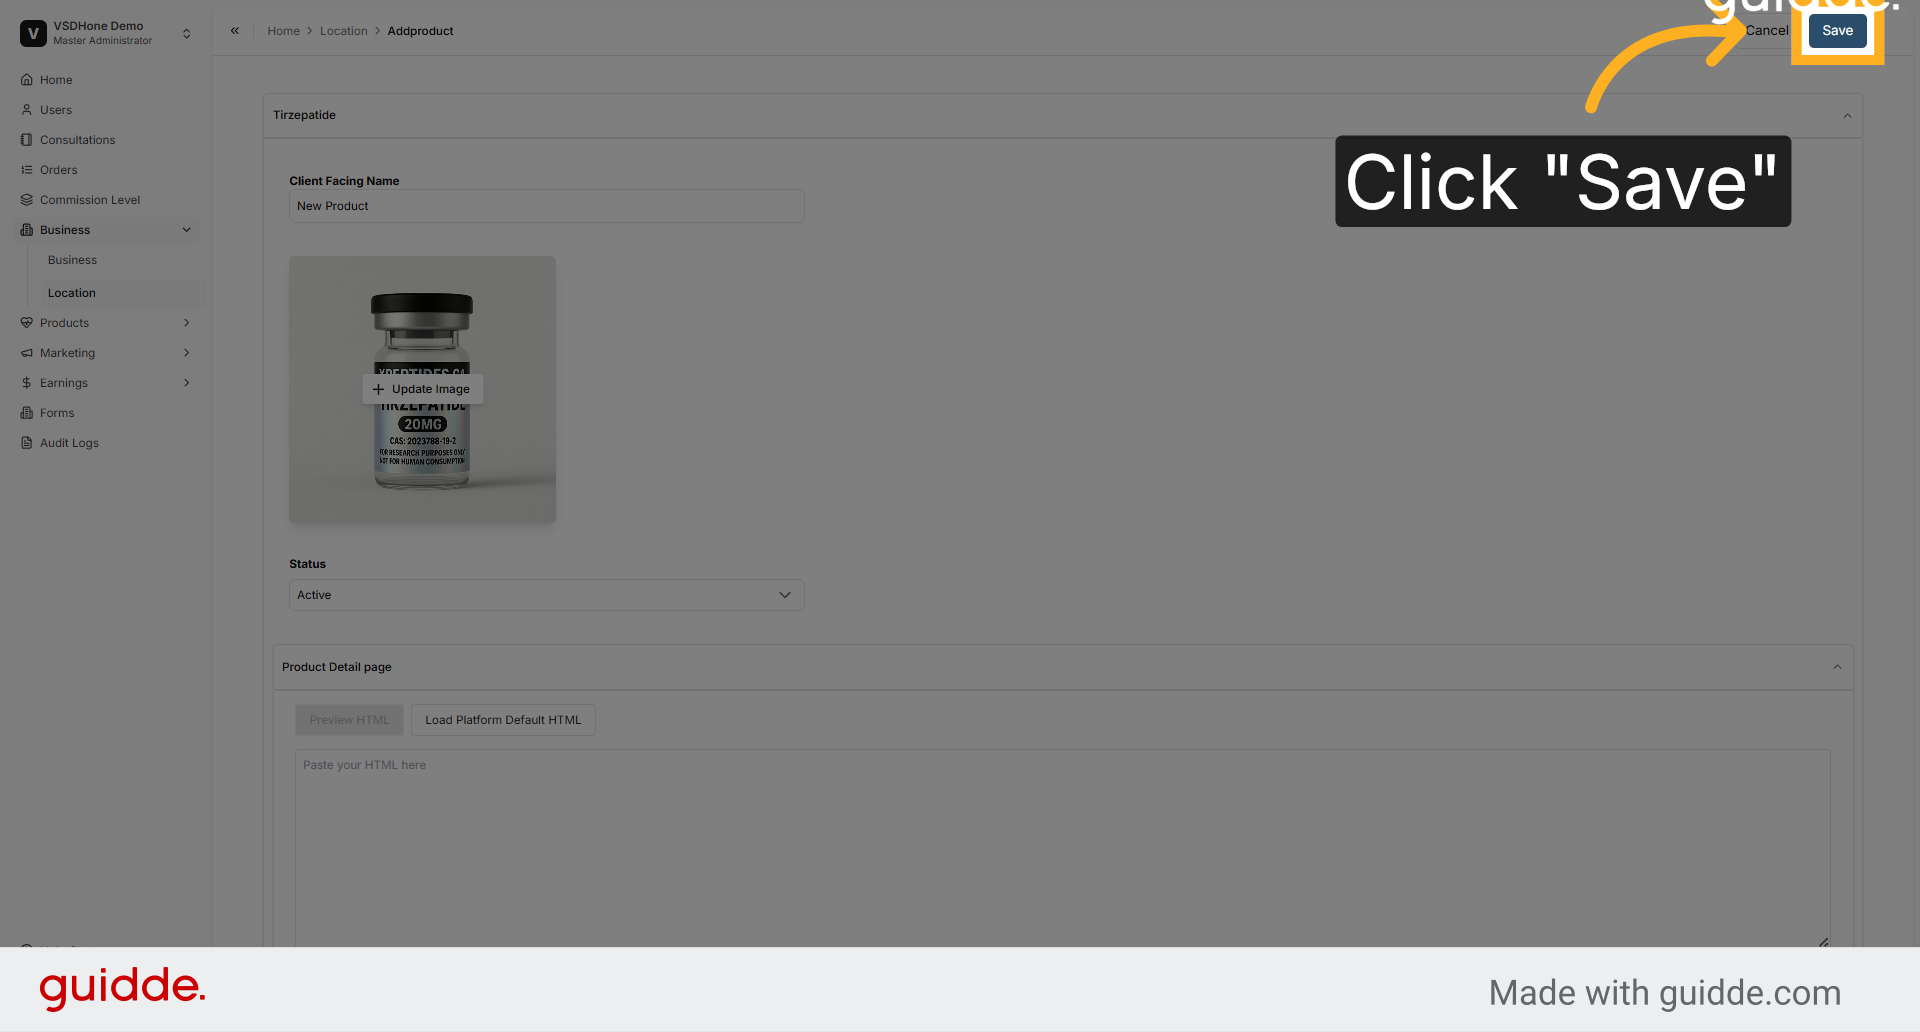
9. Save Product Details
Click Save to store the new product information and update the product list accordingly.
10. Verify changes
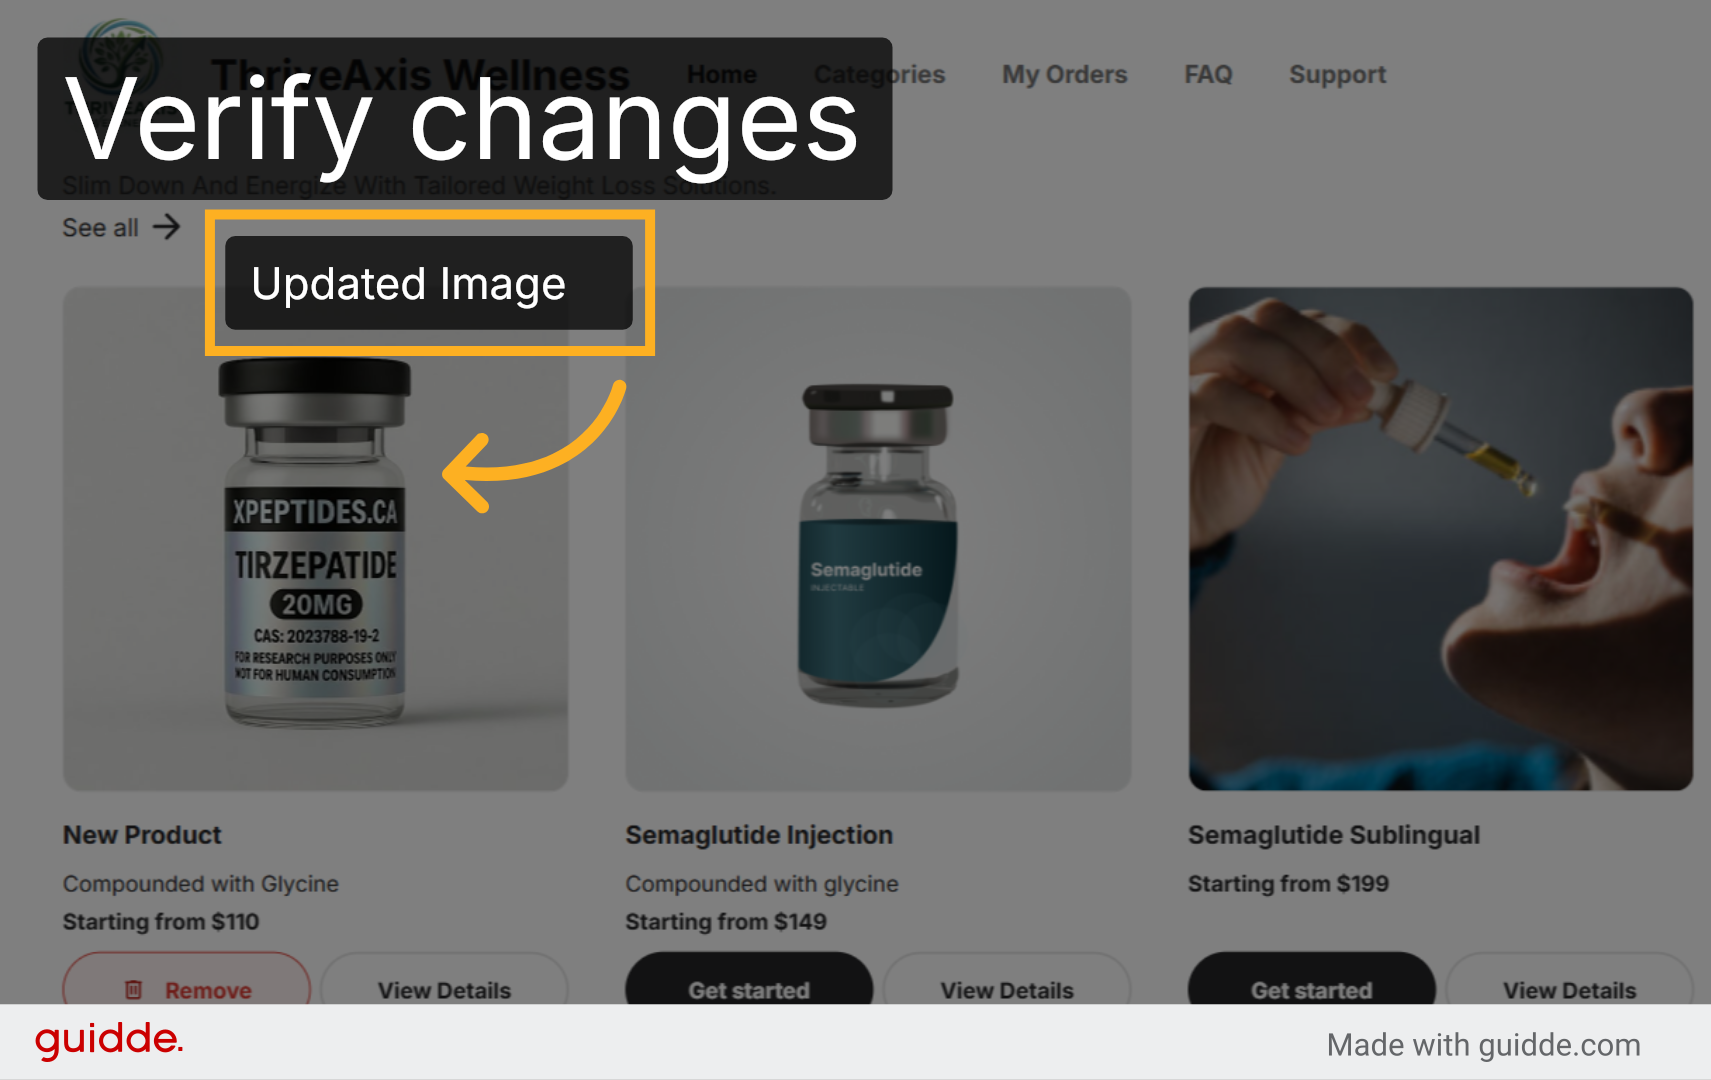
You have successfully configured and managed products within the Nightingale Admin platform. This includes navigating business locations, updating product images, and organizing categories to maintain an efficient product catalog. For further customization, explore additional settings or consult related resources.